How to measure your bra size correctly: a complete step-by-step guide
A well-fitted bra is the key to comfort, health, and a beautiful silhouette. A band that’s too tight can cause back pain and restrict movement, while one that’s too loose won’t support the bust and makes clothes sit awkwardly. It’s estimated that over 70% of women wear the wrong bra size. Here’s how to measure yourself at home in a few simple steps and find your perfect fit.
Step 1. Underbust measurement
Stand upright and wrap a measuring tape snugly around your ribcage, just below your bust.
The tape should be tight but not restrictive.
Make sure it’s level all the way around.
Round the result down to the nearest 5 cm (e.g. 78 cm → 75).
👉 This is your band size (e.g. 70, 75, 80).
Step 2. Bust measurement
Measure around the fullest part of your bust, ideally at nipple height.
The tape should sit lightly against the body without compressing.
Write down the measurement in centimeters.
Step 3. Cup size
The difference between your bust and underbust measurements determines your cup size:
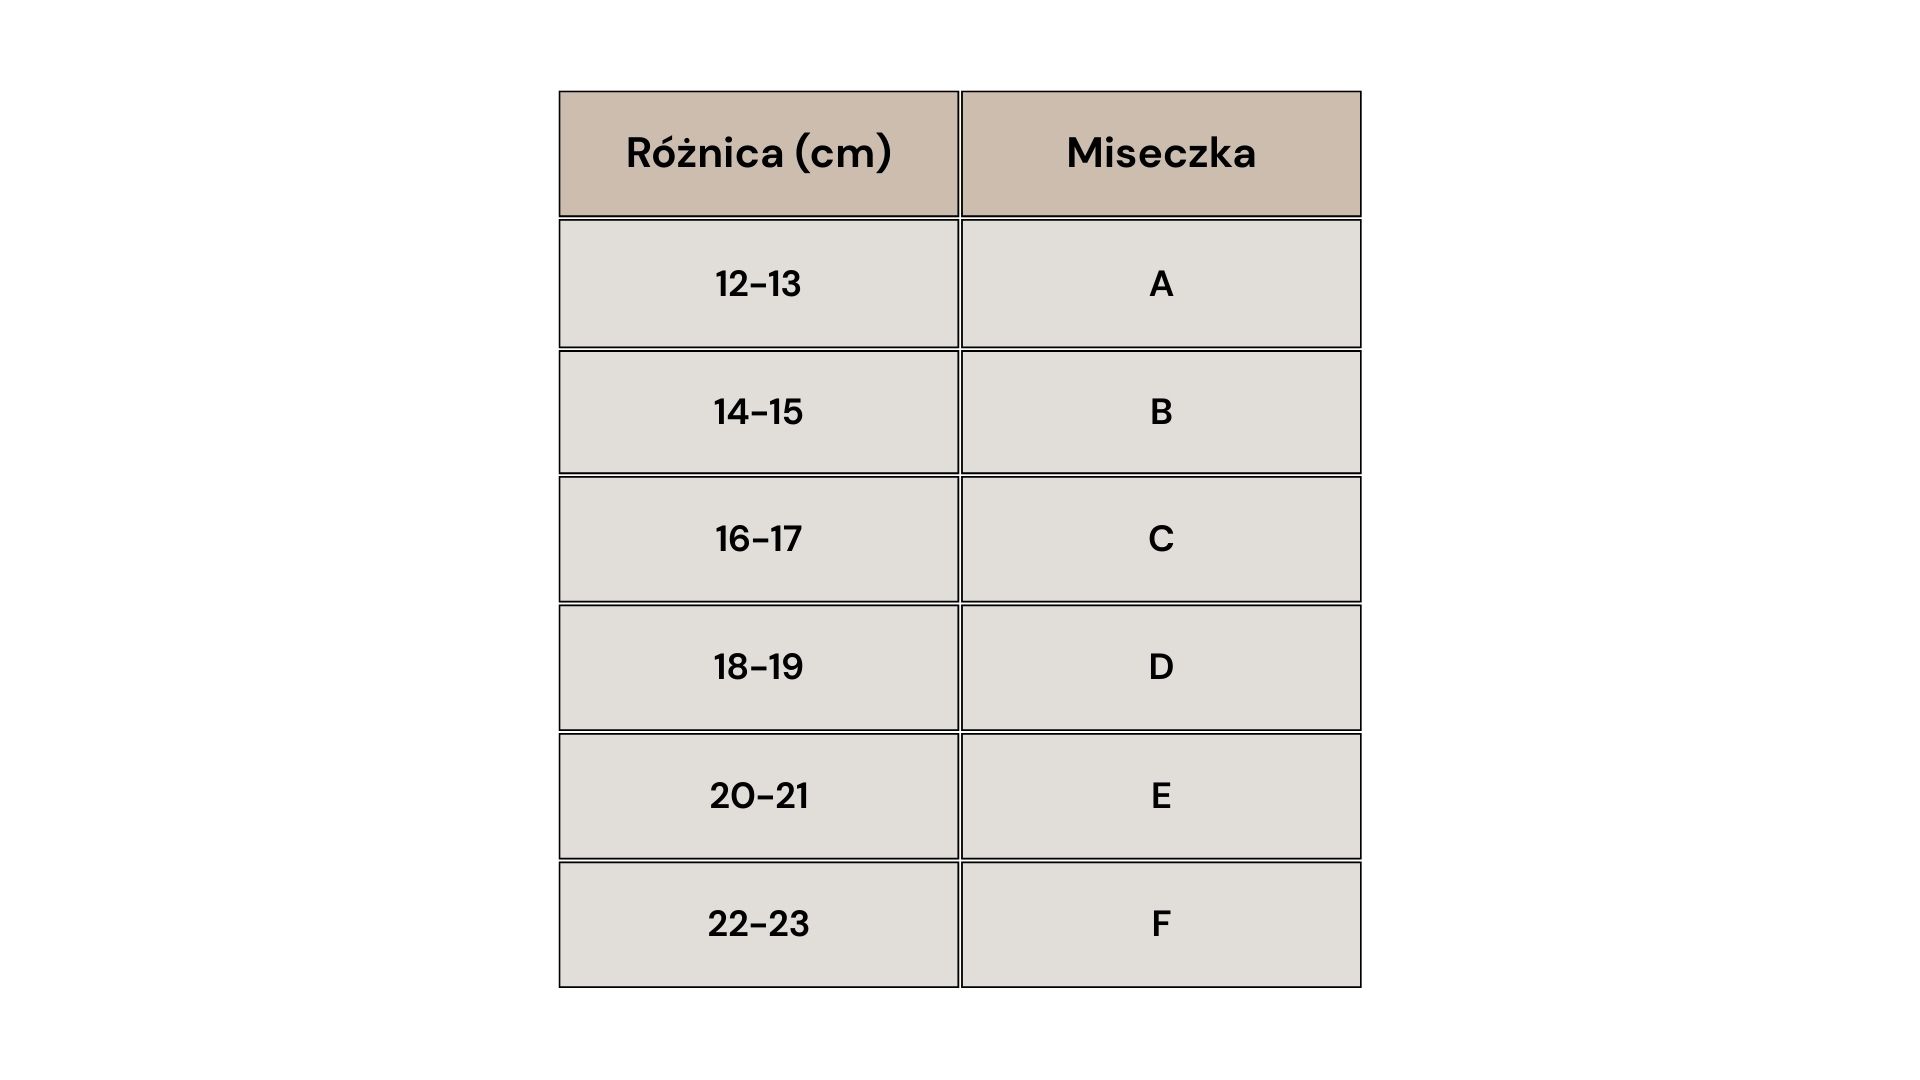
Example:
Underbust: 75 cm
Bust: 91 cm
Difference: 16 cm → cup size C
Bra size: 75C
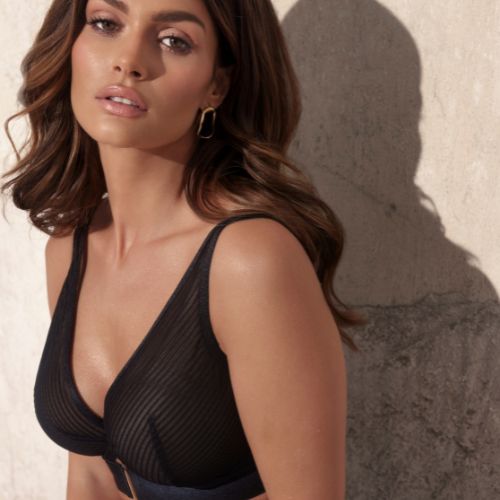
How to check if your bra fits?
Measuring is just the first step. When trying on, pay attention to whether:
The center gore (the middle of the bra) lies flat against the chest.
The underwires fully encase the breast and end under the arm, not on the breast.
The band sits evenly across the back and doesn’t ride up.
The straps support but don’t dig into your shoulders.
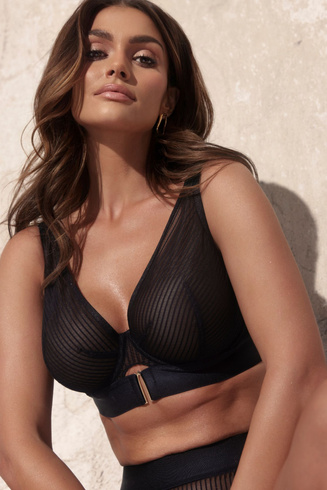
Different styles, different fit
Not every bra fits the same way, even in the same size.
Balconette reveals more of the upper bust – sometimes requires a larger cup.
Plunge has a deep neckline – make sure the center gore still lies flat.
Push-up shapes and lifts the bust – may feel tighter around the band.
Bralettes are soft and flexible, but offer less support.
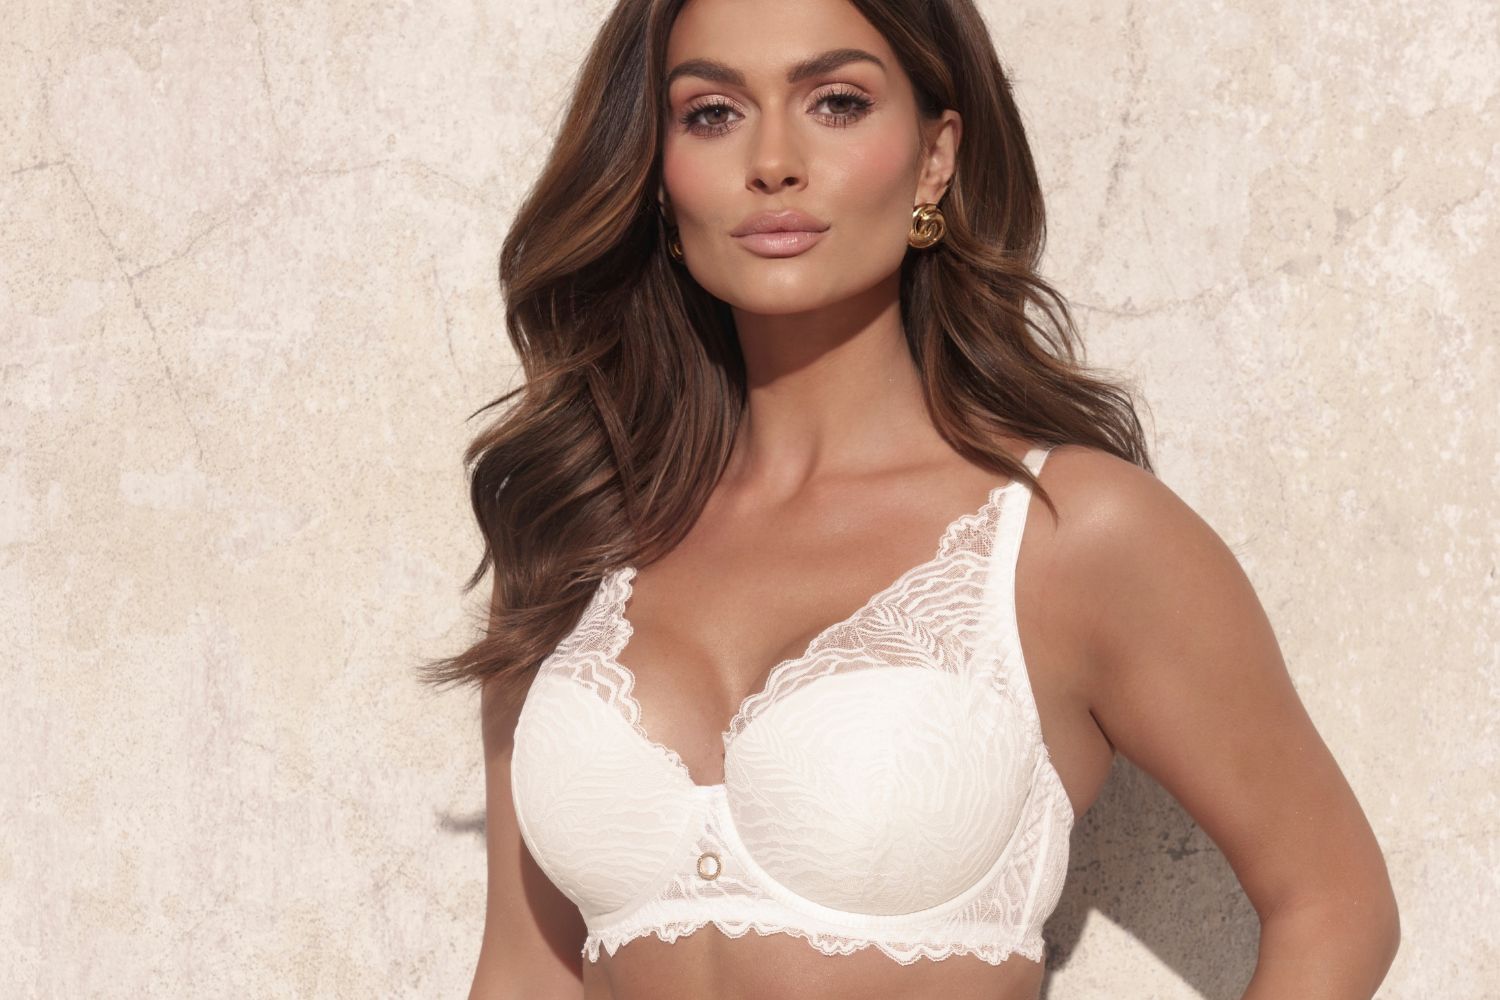
Recommended
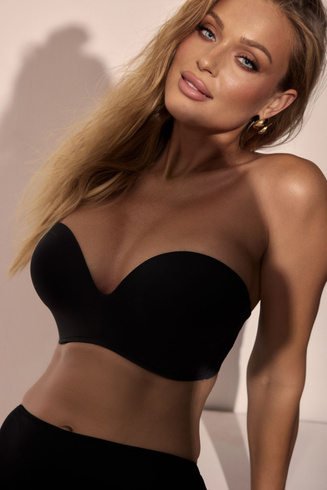
Expert Bra
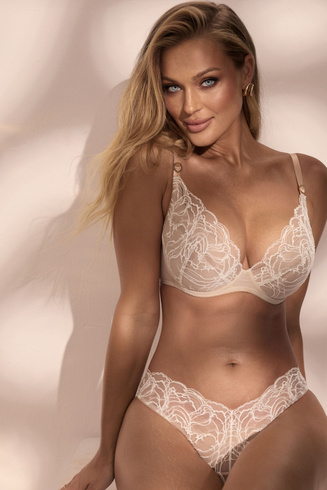
Lace Push-Up Bra Sand
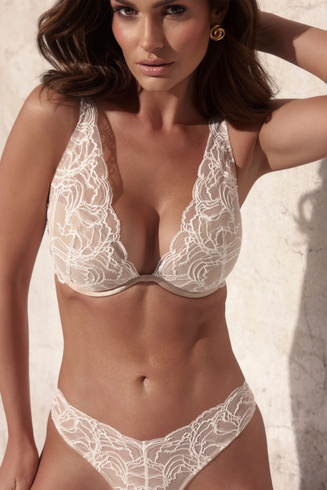
Lace Push-Up Bralette Bra Sand